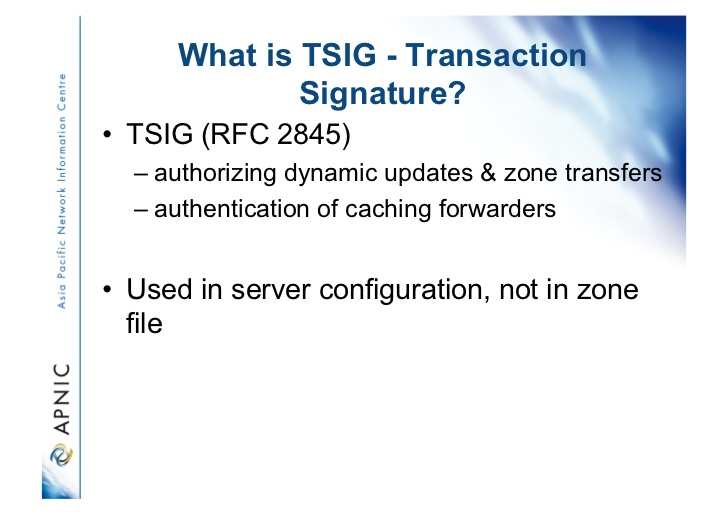
This is a short guide to setting up Transaction SIGnatures (TSIG) based transaction security in . It describes changes to the configuration file as well as what changes are required for different features, including the process of creating transaction keys and using transaction signatures with .
Generating a Shared Key for each pair of hosts
A shared secret is generated to be shared between host1 and host2. An arbitrary key name is chosen: "host1-host2.". The key name must be the same on both hosts.
The following command will generate a 512-bit (64 byte) HMAC-SHA512 key as described above. Longer keys are better, but shorter keys are easier to read. Note that the maximum key length is the digest length, here 512 bits.
dnssec-keygen -a HMAC-SHA512 -b 512 -n HOST -r /dev/urandom host1-host2
The key is in the file 'host1-host2.+163+00000.private' . Nothing directly uses this file, but the base-64 encoded string following "Key:" can be extracted from the file and used as a shared secret:
Key: Ok1qR5IW1ajVka5cHPEJQIXfLyx5V3PSkFBROAzOn21JumDq6nIpoj6H8rfj5Uo+Ok55ZWQ0Wgrf302fDscHLw==
The string
"Ok1qR5IW1ajVka5cHPEJQIXfLyx5V3PSkFBROAzOn21JumDq6nIpoj6H8rfj5Uo+Ok55ZWQ0Wgrf302fDscHLw=="
can be used as the shared secret.
Creating a TSIGKEYS file
On each host, we now have to create a separate TSIGKEYS file. This file will be 'included' into the main 'named.conf' file, keeping the keys contents invisible to prying eyes.
If you look inside the .private file, it looks like this:
john@dns1:~$ cat Khost1-host2.+163+00000.private

Private-key-format: v1.3
Algorithm: 165 (HMAC_SHA512)
Key: Ok1qR5IW1ajVka5cHPEJQIXfLyx5V3PSkFBROAzOn21JumDq6nIpoj6H8rfj5Uo+Ok55ZWQ0Wgrf302fDscHLw==
[...]
The only bit we care about is the big string of characters after the Key: label. You’ll want to copy that text, because next we put it in a BIND configuration file. Edit a new file (in this case I use vi) named as you please – in this case I’m mimicking the name of the other bind configuration files, but you certainly don’t have to:
sudo vi /etc/named/named.conf.tsigkeys
..and complete it as follows. Make sure the key is in quotes, and look out for the semicolons! I’ve called this key “my-tsig” because that’s the kind of thing I’m sure you’re expecting!
key "my-tsig" {
algorithm HMAC-SHA512;
secret "Ok1qR5IW1ajVka5cHPEJQIXfLyx5V3PSkFBROAzOn21JumDq6nIpoj6H8rfj5Uo+Ok55ZWQ0Wgrf302fDscHLw==";
};
Save the named.conf.tsigkeys file.
Copying the Shared Secret to Both Machines
A secure method for copying the file containing the Shared Secret, should be used. Here I use SCP to securely transfer the file.
scp ./named.conf.tsigkeys user@host1:/etc/namedscp ./named.conf.tsigkeys user@host2:/etc/named
Tell Bind About the Keys
To tell Bind about the new keys, we need to include the 'named.conf.tsigkeys' file into the 'named.conf' file. To do this:
1) Open 'named.conf' using your favourite editor.
2) Add the statement 'include "/etc/named/named.conf.tsigkeys";' directly below the last line of the include statements.
3) Save the 'named.conf' file.
Repeat for both hosts.
Secure Specific Zones
We need to tell BIND which zones we want to apply the TSIG key to. In this case, I’m choosing to apply it only to one zone out of a few that are in my configuration, so I’m going to add the key information within the zone configuration under the allow-transfer element:
zone "mysecuredzone.com" {
 type master;
 file "/etc/named/zones/db.mysecuredzone.com";
 allow-transfer { key "my-tsig"; };
};
Note that by putting the word ‘key’ in front of the name, it tells BIND that this is a TSIG key rather than an ACL name. You’ll also note that I don’t have to have the IP address of the secondary (slave) servers listed, because what you’re saying here is that any server that has the right key will be allowed to perform zone transfer. In fact if you do add in the IP address of your secondary, you will be allowing that server to do non-TSIG transfers, which is probably not what you had intended.
Restart Bind using the following the following command "sudo /etc/init.d/bind9 restart" . If there are any errors, check the syslog and investigate what caused the error.
Configuring The Secondary Server
On the secondary server, create the same keyfile you created on the master:
sudo vi /etc/named/named.conf.tsigkeys
…and copy in the same content,
key "my-tsig" {
 algorithm HMAC-SHA512;
 secret "Ok1qR5IW1ajVka5cHPEJQIXfLyx5V3PSkFBROAzOn21JumDq6nIpoj6H8rfj5Uo+Ok55ZWQ0Wgrf302fDscHLw==";
};

server 192.168.2.254 {
 keys { my-tsig; };
};
If you haven't already included the TSIGKEYS file into 'named.conf', go hook it into BIND in the same way as on the master, by editing named.conf:
sudo vi /etc/named.conf
and adding this line:
include "/etc/named/named.conf.tsigkeys";
Then restart BIND:
sudo /etc/init.d/bind9 restart
In theory, you’re now ready to roll.
Testing TSIG
Go to the secondary and try grabbing a zone transfer (put in your master dns server’s IP and choose the appropriate domain name):
dig @{master-dns-ip} mysecuredomain.com axfr
With any luck, you’ll get on error like this:
; <<>> DiG 9.7.3 <<>> @dns1 mysecuredomain.com axfr ; (1 server found)
;; global options: +cmd
; Transfer failed.
This is a good thing because it means a non-TSIG transfer is being denied! Now let’s try the same thing but this time force dig to use the TSIG key (which means using sudo):
sudo dig @{master-dns-ip} mysecuredomain.com axfr -k /etc/named/named.conf.tsigkeys
Hopefully you will now see a zone transfer scroll by! If you do, TSIG is working.
About the author |
|
 |
Tom Thorp is an IT Consultant living in Miami on Queensland's Gold Coast. With more than 30 years working in the IT industry, he has extensive experience. The IT services provided to clients include:
Website development and hosting,
Database Administration, Server Administration (Windows, Linux, Apple), PBX Hosting and Administration, Helpdesk Support (end-user & technical). |
| If you like any of my content, consider a donation via Crypto by clicking on one of the payment methods:. | |


